Introduce
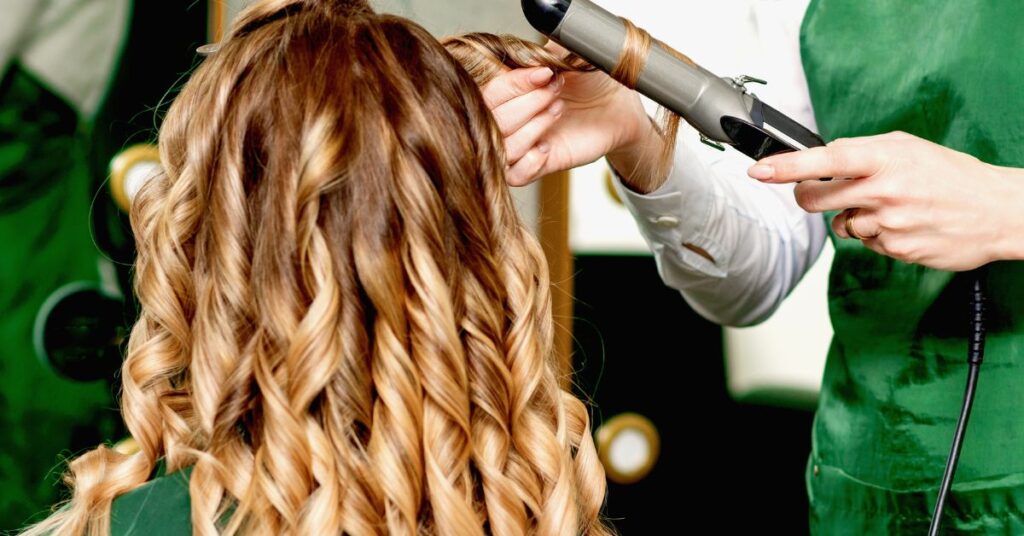
Curl short hair adds charm and dimension to any hairstyle, even on short hair lengths. In this guide, we’ll explore the art of curling short hair using a curling wand. Whether you’re aiming for bouncy ringlets or relaxed waves, mastering this technique can elevate your look with minimal effort. Explore the essential steps and expert tips for achieving long-lasting, stunning curls, and master the art of styling your short hair with confidence and flair.
Introduction to Curling Short Hair:
Curling short hair requires a slightly different approach compared to longer lengths. With shorter hair, you have less surface area to work with, and precision becomes key to achieving the desired style. Here’s what you need to know:
Understanding Short Hair Dynamics:
Short hair often holds curls differently compared to longer hair, influenced by its weight and texture. However, curls may appear tighter and more defined, especially with naturally coarse or thick hair. Additionally, shorter strands are prone to losing their shape during the day, emphasizing the importance of employing techniques and products to maintain curl longevity.
Benefits of Curling Short Hair:
Curling short hair offers numerous styling possibilities, from adding volume and texture to creating playful, tousled looks. Whether you’re aiming for a glamorous evening style or a casual everyday vibe, curls can instantly transform your appearance and boost your confidence.
Choosing the Right Tools:
A high-quality curling wand is essential for achieving optimal results with short hair. Look for a wand with a smaller barrel diameter, ideally around 1 inch or less, to create tighter curls or waves that complement shorter lengths. Furthermore, take into account the material of the wand, such as ceramic or tourmaline, as it aids in evenly distributing heat and reducing damage to your hair.
Importance of Heat Protection:
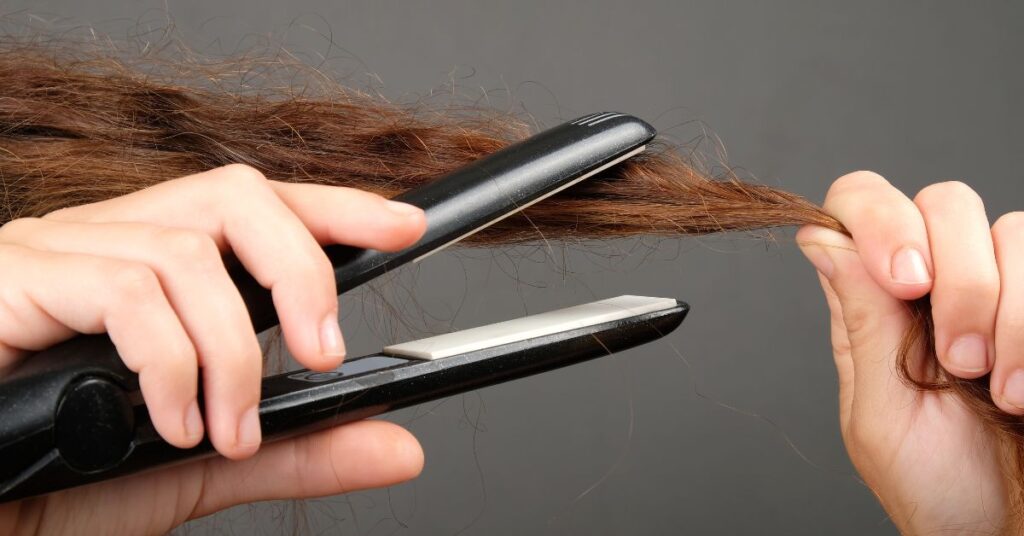
Short hair is more susceptible to heat damage, so it’s crucial to protect your strands before styling. Apply a heat protectant spray or serum evenly throughout your hair to create a barrier against the high temperatures of the curling wand. This simple step can help prevent dryness, breakage, and split ends, ensuring that your hair remains healthy and vibrant.
Choosing the Right Curling Wand:
Selecting the appropriate curling wand is crucial for achieving beautiful curls that complement your short hair. With a wide array of options available in the market, it’s essential to consider factors such as barrel size, material, and features that suit your hair type and desired style. Here’s a detailed guide to help you make the right choice:
Barrel Size:
When curling short hair, opting for a smaller barrel size is generally recommended. A barrel diameter of 1 inch or less is ideal for creating tight, defined curls or soft waves that enhance shorter lengths. Smaller barrels allow you to wrap shorter sections of hair around the wand more easily, resulting in precise and uniform curls throughout your hair.
Material:
Curling wands are typically made from various materials, including ceramic, tourmaline, and titanium. Ceramic wands are known for their even heat distribution and gentle styling, making them suitable for all hair types, including fine or damaged hair. Tourmaline wands emit negative ions that help seal the hair cuticle, reducing frizz and enhancing shine. Titanium wands heat up quickly and maintain high temperatures, making them suitable for thick or coarse hair that requires more heat for styling.
Temperature Control:
Look for a curling wand with adjustable temperature settings, especially if you have fine or delicate hair. Being able to control the heat allows you to customize your styling experience based on your hair’s needs and minimize the risk of heat damage. Start with a lower temperature and gradually increase it as needed to achieve your desired curl intensity.
Additional Features:
Some curling wands come with advanced features such as digital displays, automatic shut-off functions, and interchangeable barrels. These features offer added convenience and versatility, allowing you to experiment with different curl sizes and styles without investing in multiple styling tools.
Budget Considerations:
While high-end curling wands may offer advanced features and superior performance, there are also budget-friendly options available that deliver excellent results. Consider your budget constraints and prioritize features that are essential for your styling needs.
User Reviews and Recommendations:
Before making a purchase, take the time to read reviews and recommendations from other users, especially those with similar hair types and lengths. Their experiences can provide valuable insights into the performance and durability of different curling wands, helping you make an informed decision.
Preparing Your Hair for Curling:
Before diving into the curling process, it’s essential to properly prepare your hair to ensure optimal results and minimize damage. Proper preparation involves cleansing, conditioning, and applying styling products that create a suitable foundation for curling. Here’s a detailed guide on how to prepare your short hair for curling:
1. Wash Your Hair: Start by washing your hair with a gentle shampoo and conditioner suitable for your hair type. Avoid using products that weigh your hair down or leave behind residue, as they can interfere with the curling process. Rinse your hair thoroughly with lukewarm water to remove any product buildup and prepare it for styling.
2. Towel Dry Gently: After washing, gently towel dry your hair to remove excess moisture. Avoid rubbing your hair vigorously with the towel, as this can cause friction and lead to frizz and breakage, especially with short hair. Instead, gently squeeze and blot your hair with the towel to absorb water without causing damage.
3. Apply Heat Protectant: Before applying any heat styling tools to your hair, it’s crucial to protect it from damage caused by high temperatures. Spray a heat protectant evenly throughout your hair, focusing on the mid-lengths and ends, which are more prone to damage. Heat protectants create a barrier that shields your hair from the intense heat of the curling wand, minimizing the risk of dryness, breakage, and split ends.
4. Add Styling Mousse or Cream: For added hold and definition, consider applying a styling mousse or cream to your damp hair before curling. These products help enhance the texture of your hair, making it easier to manipulate and style. Use a small amount and distribute it evenly through your hair, focusing on the sections you’ll be curling.
5. Blow Dry or Air Dry: Depending on your hair type and desired style, you can either blow dry your hair or allow it to air dry naturally before curling. If you prefer a sleeker look with more volume, use a blow dryer and a round brush to smooth out your hair and create lift at the roots. If you’re going for a more tousled, effortless vibe, let your hair air dry to enhance its natural texture.
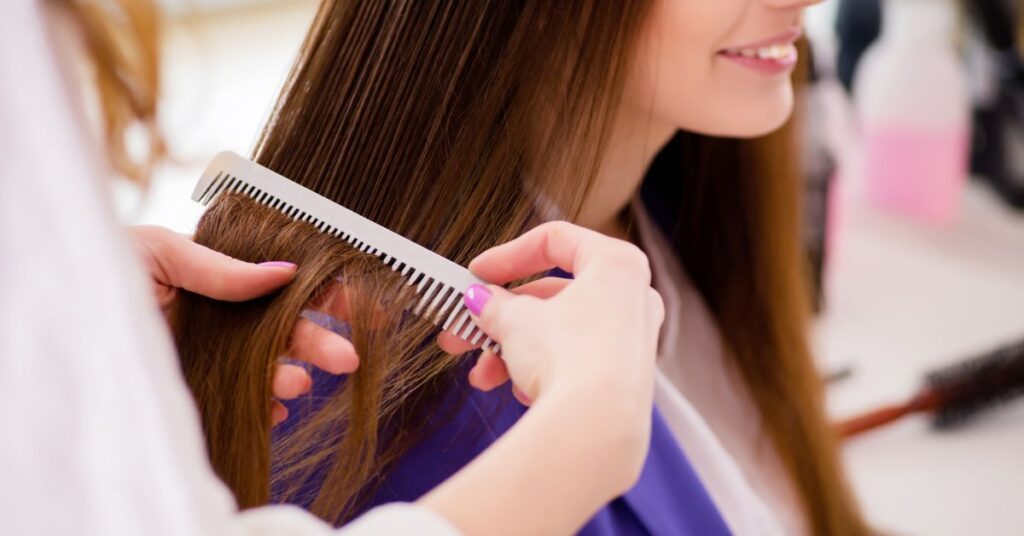
6. Comb Through Your Hair: Before curling, use a wide-tooth comb or your fingers to gently detangle your hair and remove any knots or tangles. Smooth out any snags or bumps to ensure that your curls are uniform and free-flowing.

Sectioning Techniques for Short Hair:
Sectioning your hair properly is key to achieving consistent and polished curls, especially with short hair lengths. By dividing your hair into smaller sections, you can ensure that each strand receives equal attention and is curled evenly. Here’s a detailed guide on how to section your short hair effectively for curling:
1. Divide Your Hair Into Sections: Start by dividing your hair into manageable sections using hair clips or hair ties. For short hair, aim to create 3-4 sections, depending on the thickness and density of your hair. Begin by parting your hair down the middle from the front to the back, dividing it into two equal sections.
2. Clip Up the Top Section: Once you’ve created the middle part, clip up the top section of your hair using a hair clip or hair tie to keep it out of the way while you work on the bottom sections. This will allow you to focus on curling the lower layers first and prevent them from getting tangled or mixed up with the top section.
3. Divide the Bottom Section: Take the bottom section of your hair and divide it into smaller subsections, approximately 1-2 inches wide, depending on the size of your curling wand and the desired curl intensity. Use hair clips or hair ties to secure each subsection separately, ensuring that they don’t overlap or mix with each other.
4. Start Curling: Begin curling the bottom subsections of your hair one at a time, starting from the back and working your way towards the front. Take small sections of hair and wrap them around the curling wand, holding for a few seconds before releasing to create curls. Repeat this process for each subsection, alternating the direction of the curls for a more natural and voluminous look.
5. Release the Top Section: Once you’ve finished curling the bottom sections, release the top section of your hair and divide it into smaller subsections, following the same process as before. Curl each subsection individually, focusing on creating volume and dimension throughout the top layers of your hair.
6. Final Touches: After curling all sections of your hair, run your fingers through the curls to loosen them slightly and create a more relaxed, tousled effect. Use a light-hold hairspray to set the curls in place and tame any flyaways or frizz.
Curling Techniques for Short Hair with a Wand:
Curling short hair with a wand requires precision and technique to achieve the desired style. Whether you’re aiming for tight ringlets, loose waves, or anything in between, mastering the curling process is essential for creating stunning results. Here’s a detailed guide on various curling techniques tailored to short hair lengths:
1. Wrap and Hold Method:
- Take a small section of hair and wrap it around the curling wand, starting from the root and working towards the tip.
- Hold the hair in place for a few seconds, then release the curl gently from the wand.
- Repeat this process for each section of hair, alternating the direction of the curls for a more natural look.
- For tighter curls, wrap smaller sections of hair around the wand and hold for a longer duration.
- To create looser waves, use larger sections of hair and hold the wand at a slight angle while wrapping the hair around it.
2. Twist and Curl Method:
- Divide your hair into small sections and twist each section tightly from the root to the tip.
- Hold the twisted section of hair vertically and wrap it around the curling wand, starting from the bottom and working towards the top.
- Hold the hair in place for a few seconds, then release the curl gently from the wand.
- Repeat this process for each twisted section of hair, adjusting the size of the sections to create variation in the curls.
3. Pin Curl Method:
- Take a small section of hair and wrap it around your finger to create a tight coil.
- Carefully slide the coil off your finger and secure it to your scalp using a bobby pin.
- Repeat this process for each section of hair, placing the pin curls strategically to create volume and texture.
- Leave the pin curls in place until your hair has cooled completely, then remove the pins and gently finger comb the curls to loosen them.
4. Half-Up, Half-Down Curls:
- Divide your hair into two sections, with the top section clipped up and out of the way.
- Curl the bottom section of your hair using the wrap and hold method or twist and curl method, focusing on creating defined curls or waves.
- Once you’ve curled the bottom section, release the top section of hair and repeat the curling process, paying attention to the front sections to frame your face.
- After curling both sections, gently tousle your hair with your fingers to blend the curls and create a seamless transition between the two sections.
5. Layered Curls:
- Take random sections of hair from different layers of your hair and curl them individually using your preferred curling method.
- Vary the size and direction of the curls to create texture and dimension throughout your hairstyle.
- Focus on curling the shorter layers around your face to add movement and frame your features.
- Once you’ve curled all sections of hair, use your fingers to separate and tousle the curls for a more natural and effortless look.

Conclusion
In conclusion, mastering the art of curling short hair with a wand opens up a world of styling possibilities. allowing you to express your creativity and enhance your natural beauty. By following the steps outlined in this guide, from choosing the right curling wand to implementing various curling techniques, you can achieve stunning results that elevate your look and boost your confidence. Whether you’re aiming for tight ringlets, loose waves, or anything in between, the key lies in patience, practice, and attention to detail. With the knowledge and skills gained from this article, you’re equipped to embrace the versatility of styling curl short hair with ease and finesse. So go ahead, unleash your inner hairstylist, and let your curls take center stage! read more
FAQ
- Q: How do I curl short hair with a curling wand?
- A: Start by selecting a curling wand with a barrel size suitable for your desired curl type. Then, section your hair into small sections and wrap each section around the wand, holding for a few seconds before releasing. Finally, let the curls cool before gently tousling them with your fingers for a natural look.
- Q: What size curling wand should I use for short hair?
- A: For shorter hair, opt for a curling wand with a smaller barrel diameter, typically around 1/2 to 1 inch, to create tighter curls or waves that suit shorter lengths.
- Q: How can I ensure my curls last longer on short hair?
- A: To prolong the longevity of your curls on short hair, apply a heat protectant before styling, and consider using a hairspray or texturizing spray to set the curls in place. Additionally, avoid touching your hair excessively throughout the day to maintain the curl shape.
- Q: Are there any specific techniques for curling short hair with a wand?
- A: Yes, when curling short hair with a wand, it’s essential to wrap smaller sections of hair around the wand for more defined curls. You can also alternate the direction of the curls for a natural and textured look.
- Q: Can I use a curling wand on short hair that is fine or thin?
- A: Yes, you can still use a curling wand on short hair that is fine or thin. Opt for a lower heat setting and shorter heating times to prevent damage, and consider using volumizing products to add texture and hold to the curls.

